This post is another in a series of helpful tutorials for our friends, regardless of where they reside. Replacing any trap, whether a main house trap, sink P trap, or plumbing fixture is a commonly needed repair whether you live in a small town, or any other neighborhood across the country. Second to using a plunger, the next easiest thing to do in a plumbing installation is to replace sink trap in a bathroom or a kitchen in almost all circumstances.
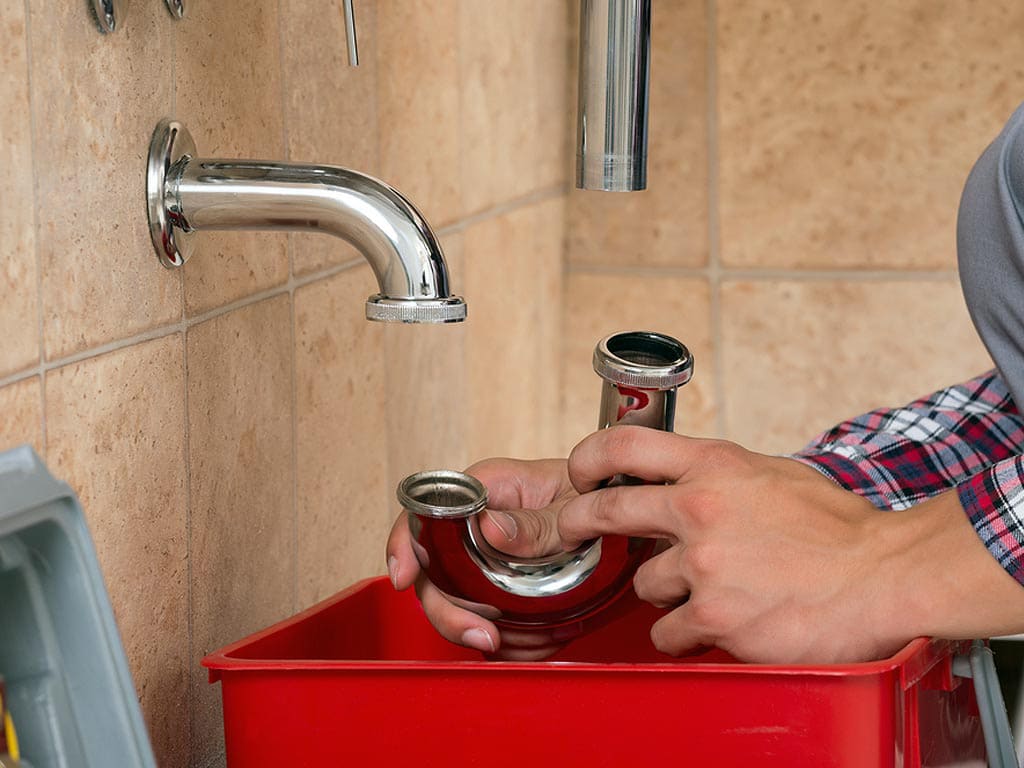
The sink trap plumbing part is the U-shaped assembly installed underneath a sink. It is called P trap because it looks like a face-down letter P. You should also know that the cost of a new sink trap is very reasonable, there are perfectly fine sink traps that can be purchased for under $30.00.

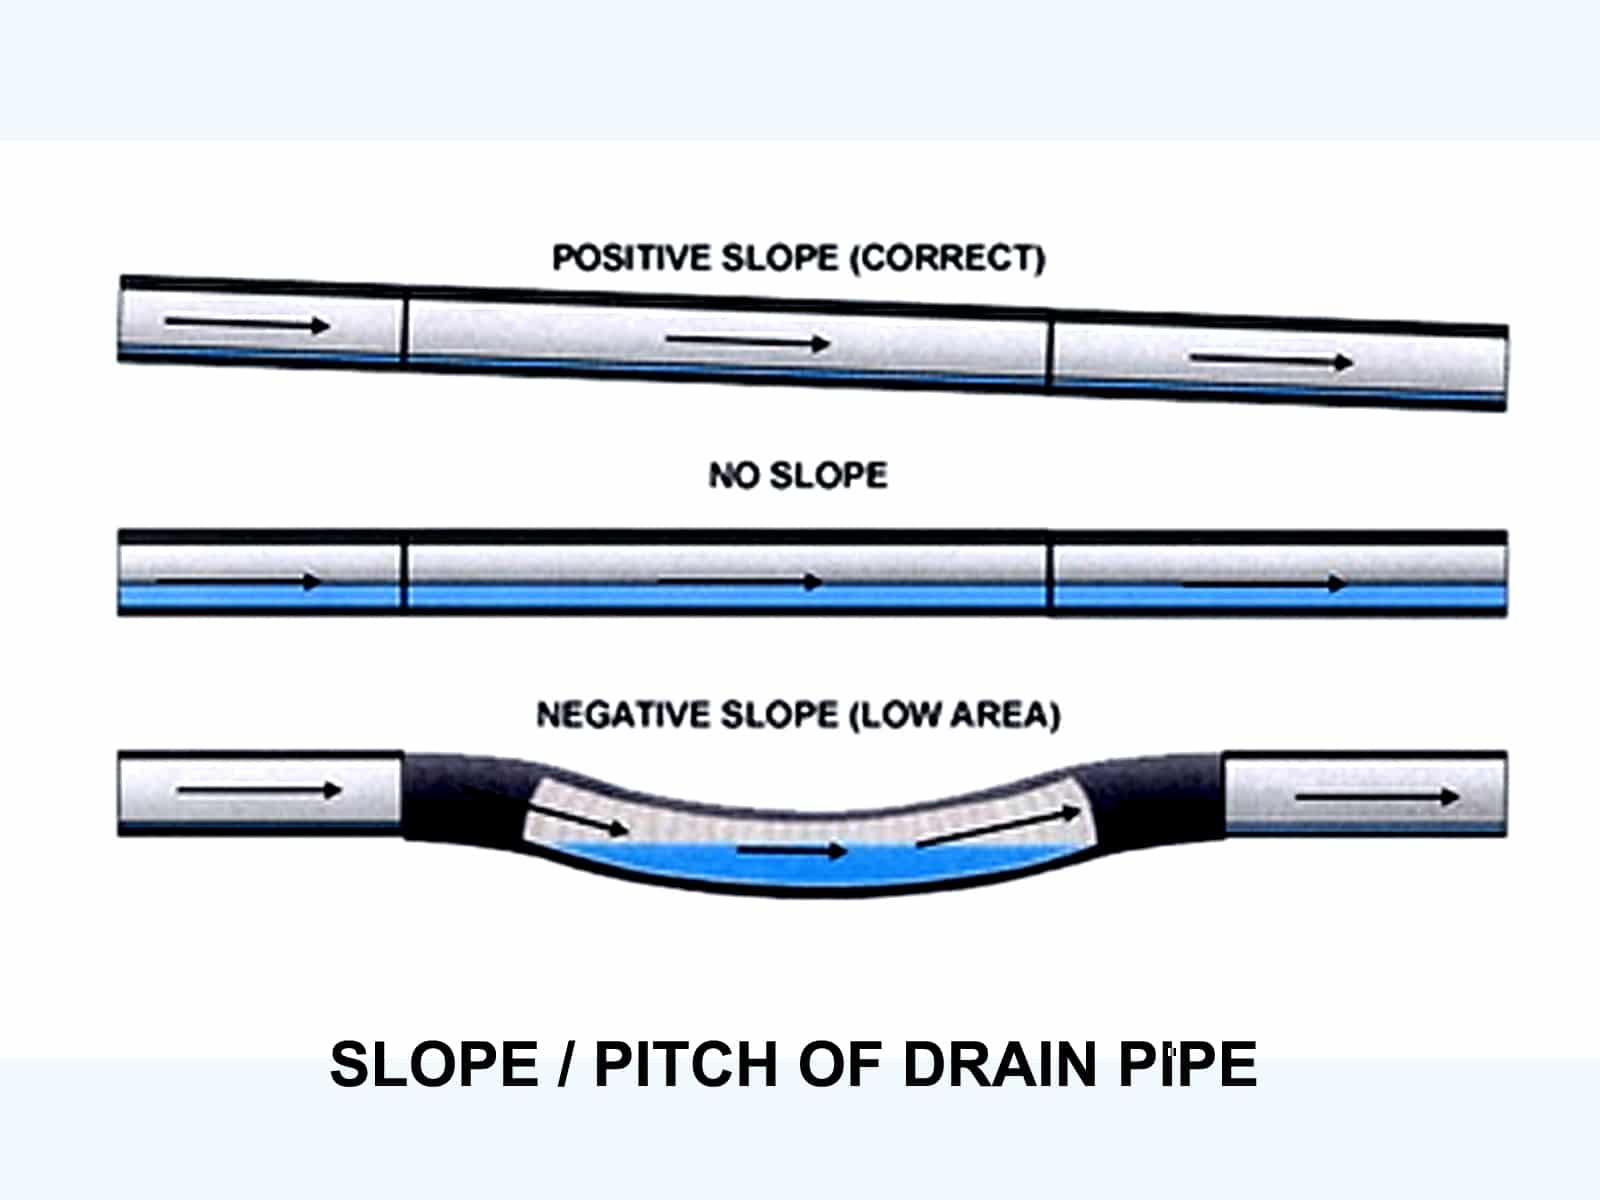
Every plumbing trap has a U shape because it has to hold water inside the curved portion of the assembly. This “belly” in every trap acts as a water barrier to prevent sewer gases from escaping into your living environment. When you wash anything down the sink, waste materials pass that curved shape followed by clean water behind it. That clean water remains in the pipe to prevent toxic gas or odor from entering your house. There should be a P trap connected to every drain except a toilet because it already has one built into the bowl.
To replace sink trap learn the components first
A new P trap assembly usually comes with a tailpiece, a trap adapter to connect the curved pipe to the tailpiece, a u-shaped pipe with clean-out access, and a trap arm. Starting from the top, everything should be connected to the sink drain in that particular order. Every part is secured to another by a slip nut, which looks like any regular nut, only larger in diameter.
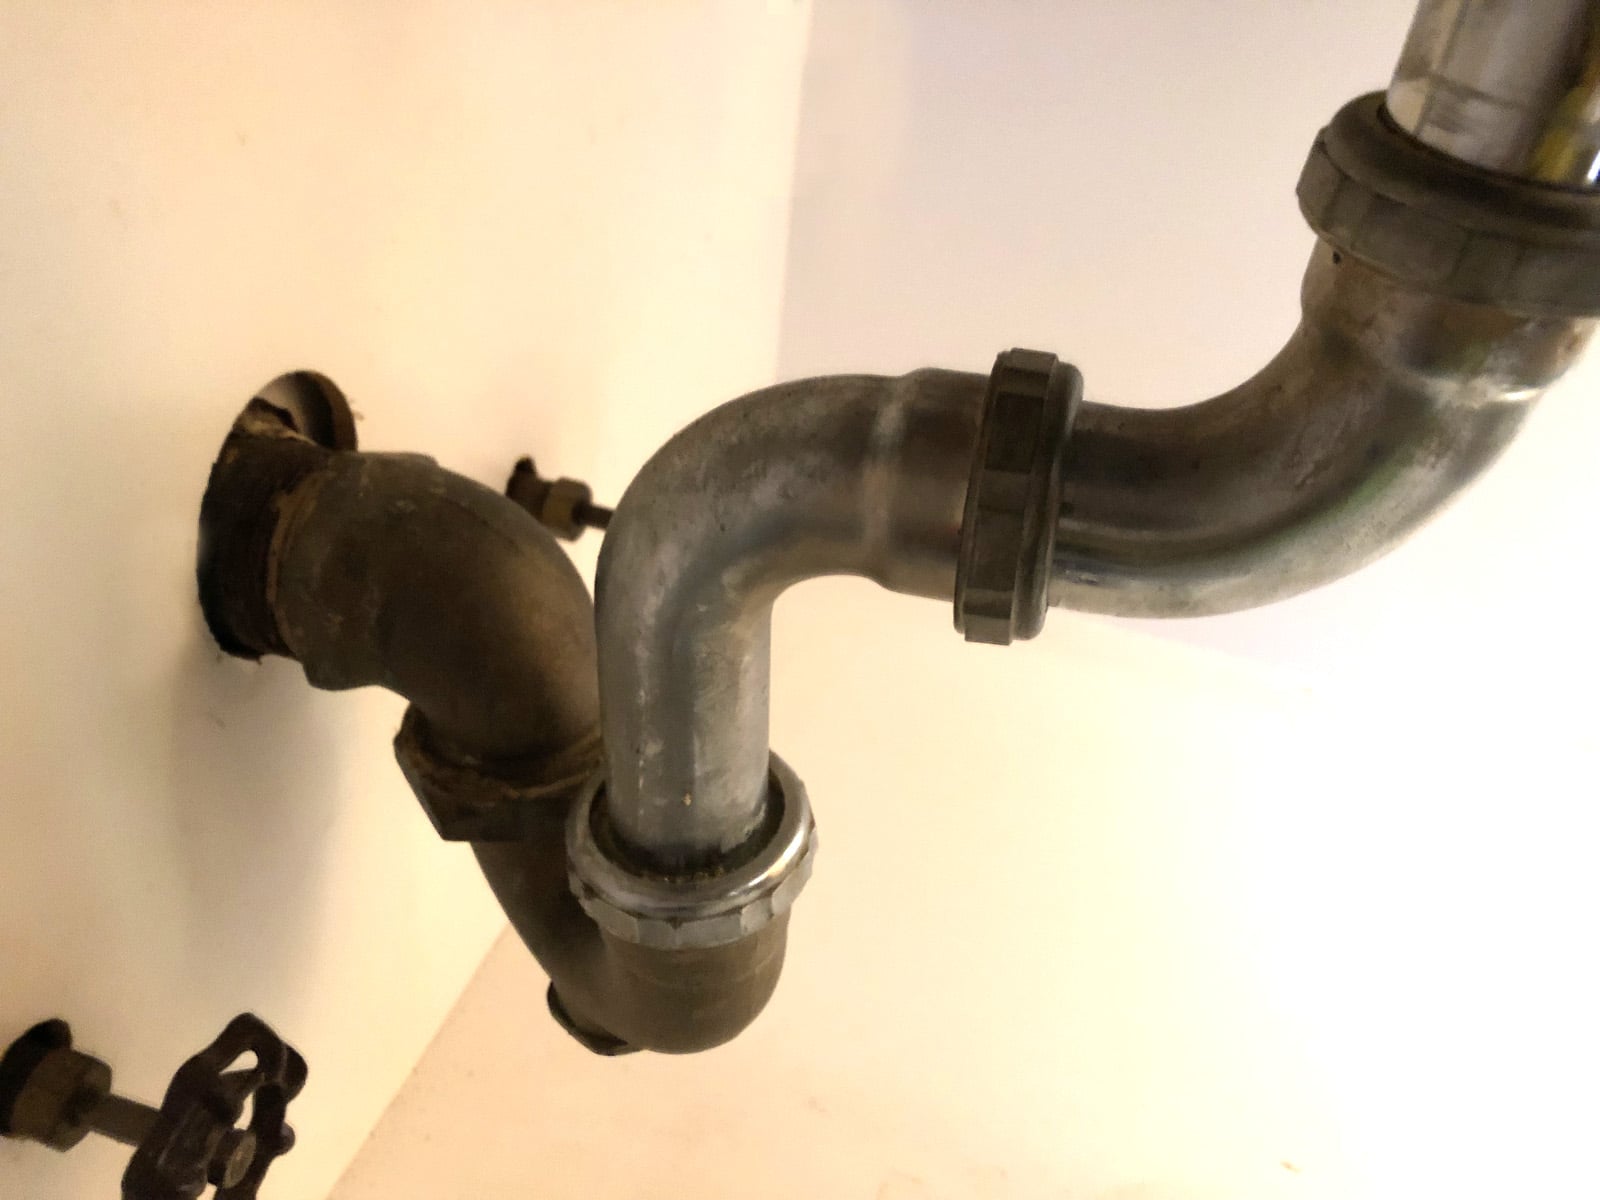
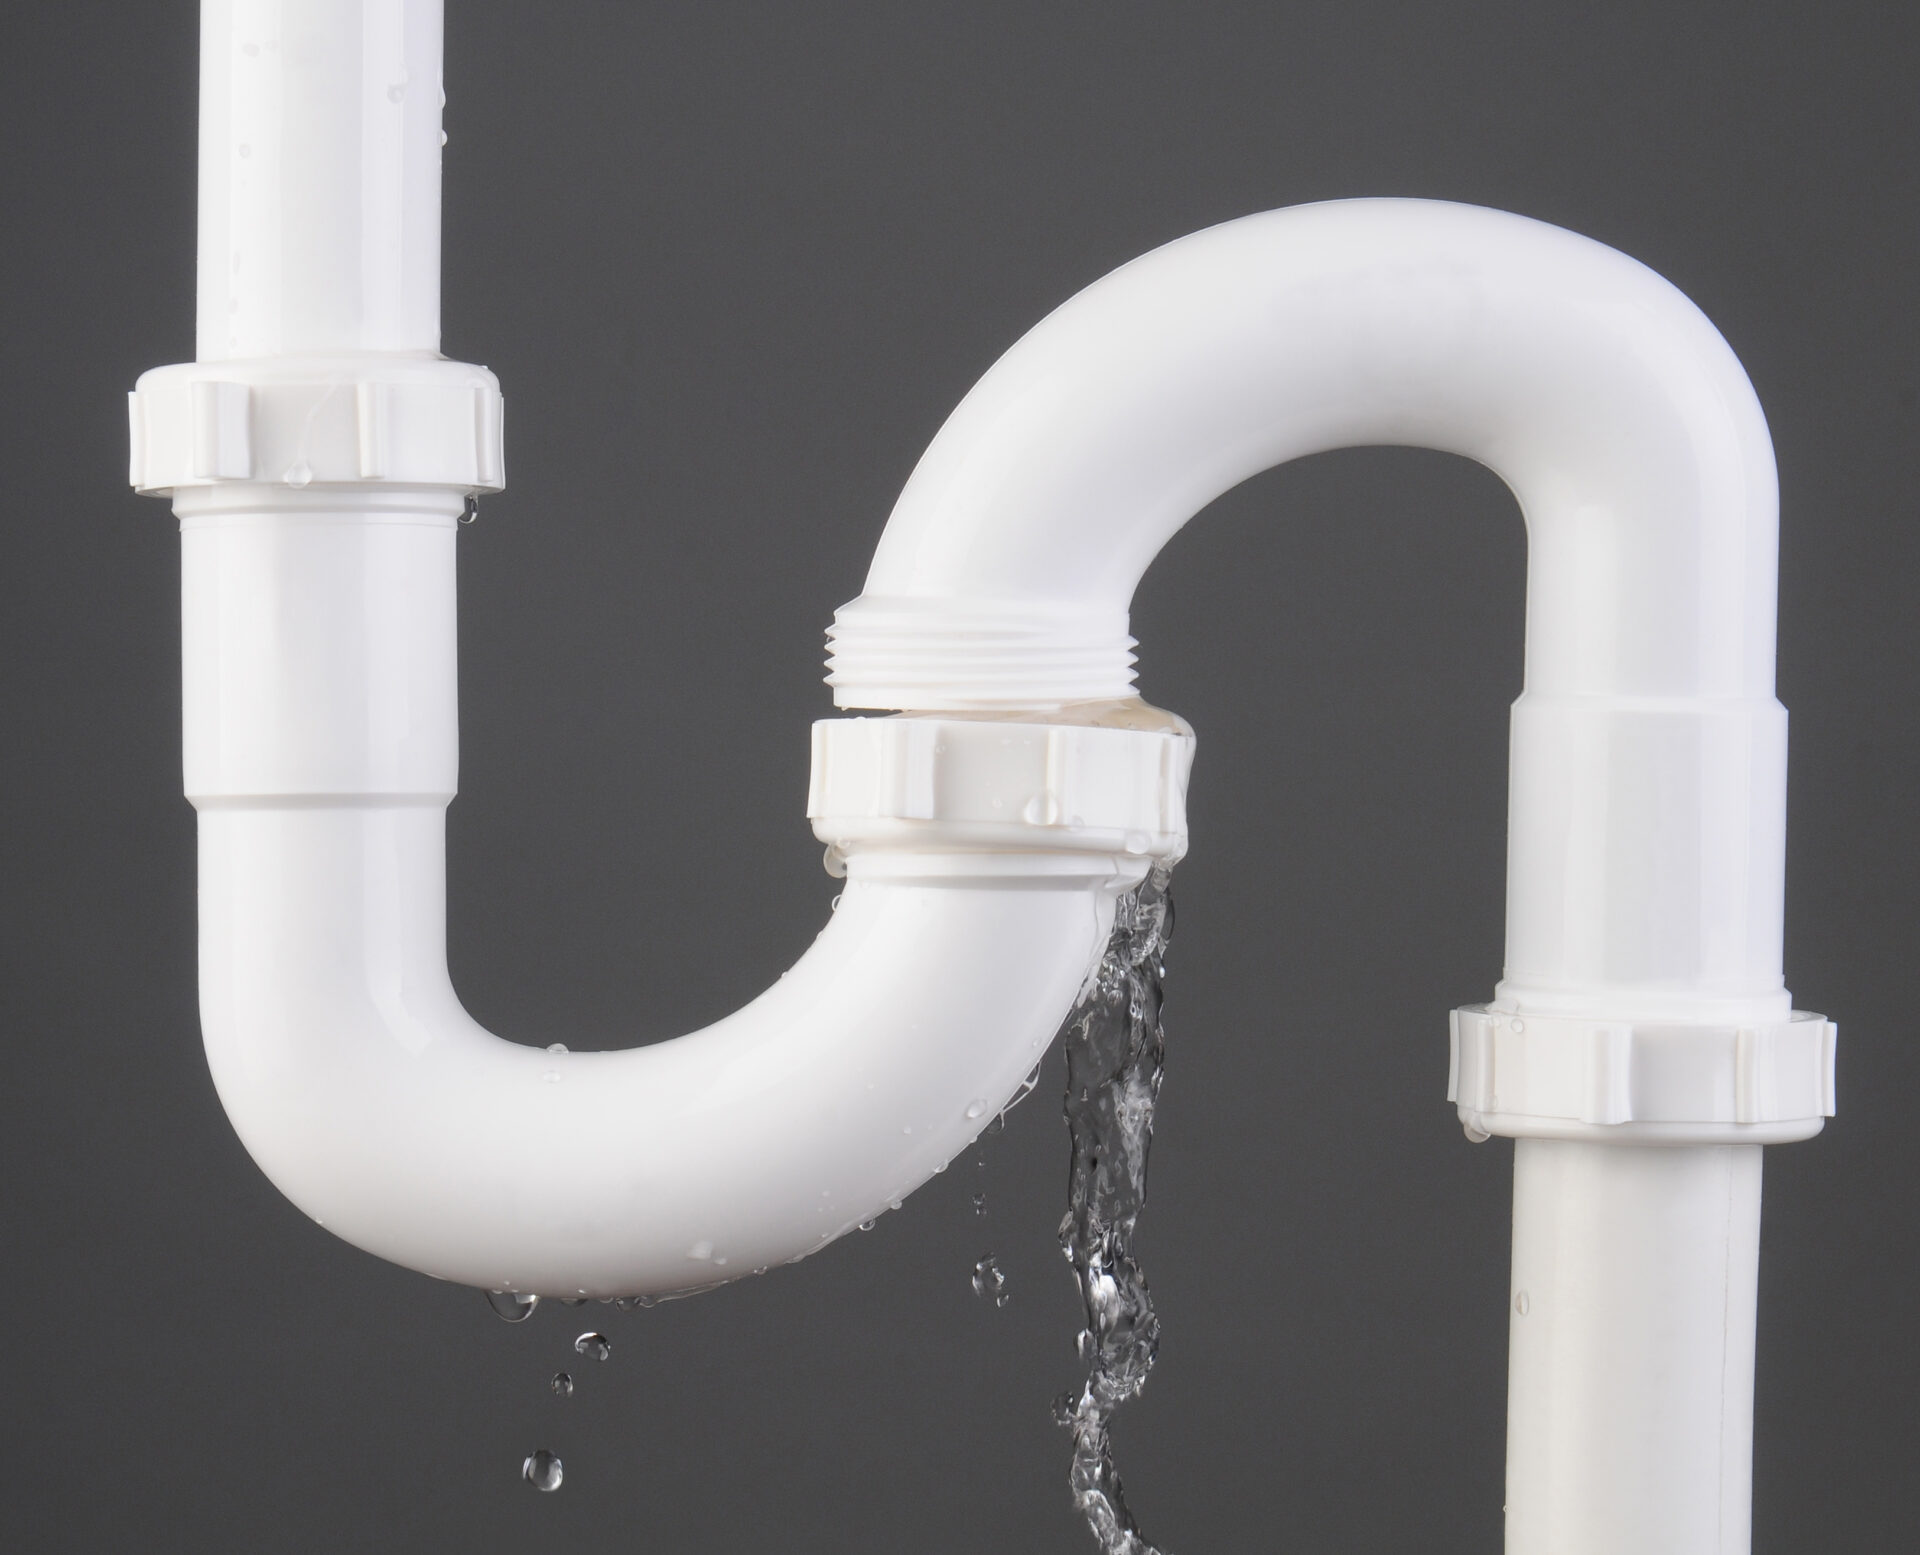
Depending on the models and brands, the assembly can be made entirely of plastic such as PVS and ABS or even metal as long as it is rust-resistant. See below for a typical install sink drain pipe photo.
The Basic Tools to Replace Sink Trap
Replacing a P trap requires minimum, if any specialty tools at all. You can even loosen and tighten slip nuts with your bare hands in some instances. Remember to never use a lot of force, with or without tools. If you do need tools, some basic 14″ plumbing wrenches are probably best to use. You will also need a hacksaw, or 2″ tubing cutter. If your fittings are chrome, wrap a cloth around them to prevent the wrenches from scarring their finish.
To prevent leaking, you can wrap the threaded portion of each part with Teflon plumbers tape, or pipe joint compound. Since the curved portion of the assembly contains water (it may be filled with gunky stuff), you are advised to put a bucket with a rag inside, underneath the pipe before removing the assembly. If the old sink P trap has a clean-out access, drain the water first by opening the plug before you replace sink trap.
Here’s Your 6 Step Sink Trap Replace Plan:
1. Remove all parts of the old assembly by loosening the slip nuts that hold them together
You only need to remove two really; the one that connects to the tailpiece and another on the trap arm. Assuming you want to discard the old assembly entirely, there is no need to loosen the nuts on the curved portion anyway. Loosen the slip nuts using your hands. If you find them too tight, use a pipe wrench or tongue-and-groove pliers instead. Start with the tailpiece, and the pipe should come right off. If it doesn’t, give a little wiggle while pulling it downward. Repeat the process with the slip nuts on the trap arm and pull it out of the drain pipe in the wall.
2. Clean the threaded parts of the wall pipe and tailpiece connection for the new assembly
If there is a lot of dirt, sediment, or old pipe dope, use a wire brush to clean it all off. It’s better to be safe, than have a leak after everything is reassembled afterwards.
3. Measure the length of the new tailpiece and trap arm you need
Also check if the new pipes have the right diameter. If you have to, custom-cut the pieces using a 2″ tubing cutter or a hacksaw. A tubing cutter will give you a cleaner and more precise cut. Always remember that all components should be equal diameter pipe, It’s never a good idea to reduce the size of a drain pipe just for convenience.
4. In most cases you can pre-assemble the sink trap & drain components
The tailpiece, the sink trap itself, and the trap arm can frequently be pre-assembled before you connect them to the sink and drain pipe. Remember the order of installation mentioned above. Never over-tighten or use brute force, many sink drain pieces are relatively fragile.
5. You may need to cut the tailpiece and trap arm to length afterward
The point is to make sure that the sink P trap assembly is properly angled. A misalignment can lead to an annoying leak after the fact. There should 90-degree bend between the tailpiece and the trap arm.
6. Connect the new tailpiece to the bottom of the sink and trap arm to the wall drain pipe
If needs be, apply Teflon tape of pipe joint compound to the threaded parts for better sealing. Tighten all the slip nuts, and you are done. A tip: If your pipe is properly aligned it can be hand-tightened almost entirely. Use your wrenches for only one final 1/4 or 1/2 a turn.
Know the limits of your plumbing skill-set before you replace sink trap
Not all jobs to replace sink trap are as easy as others. Older, mixed material, multi-component sink drains can pose challenges. Older, thinner, sink drain components tend to bend or break. When brass or steel fittings are involved, they may have become frozen in place over time. In some cases, the pipe diameters may not even be all the same. That said, consider your quick plumbing project carefully before it becomes your “weekend event”.
Check your work before you “close up shop” when you replace sink trap job
Don’t forget to check for leaks. Run water from the sink and see if you have drops of water underneath the trap. Thanks to the design of a P trap, toxic gas and odor from the septic tank or sewer cannot escape into your house. However, the shape can also create a little bit of difficulty for slightly larger material to flow into the drain. Water that contains a lot of minerals may leave debris inside the trap too.
Choose a trap with clean-out access so you can get rid of such debris without removing the entire assembly. Many sink traps, such as the one pictured above, have a clean-out plug right on the bottom. Just always remember to place a bucket underneath the catch the slimy stuff about the fall out of your trap. If you’d like to learn more about your drain system components read about 13 Drain Hardware Components.
About Your Balkan Drain Team
Your Balkan Drain Team is your Drain Dream Team. We provide expert advice via email or phone, and via our ongoing series of helpful household plumbing tutorials. When you cannot figure it out yourself, depend on us for expert and timely drain, sewer, and water line service. Contact Balkan virtually any time, and any day of the week to receive on-point plumbing service. No matter the size of your plumbing project, from replace sink trap to replacing a main house trap to a full sewer replacement, Balkan is The Team You Trust.